Showing posts with label MQS. Show all posts

Sunday, August 3, 2014

I'm still here!

I've been absent from blog-land for a long time now -- still quilting, still taking photos, just not at the computer. You know how life sometimes gets in the way!

But I'm still at it!

It has been over a year. Yikes! About the time I was posting the last quilts I was also getting two quilts of my own completed and ready for entry at MQS 2013 (Machine Quilter's Showcase). I pieced and quilted both of them and shipped those babies off to Wichita (at the last possible minute, of course.) I know many of you know the outcome of that show, but the photos never made it here, so that is where I am going to pick up.


The first quilt, Let Your Light Shine, was one of those designs that danced in my head for a while before I cut into the first piece of fabric. I wanted to play with the water color effect of lights and darks and chose to build that around a cross. I really had the quilting in mind before this was even pieced. I wanted rays coming out from the center and a quote quilted into the border.

Once the main body was pieced (quick squares and strip piecing) I made the asymmetrical border. I actually traced the lettering on before it was attached. I printed my quote, "Within each heart is a spark of the Divine" on my computer the exact size I wanted it and taped the multiple pages together. I then used a blue water-erase marker to trace that onto my white fabric. This may not have worked with any other fabric, but the white was translucent enough to see through. It was then attached to the main body of the quilt and ready for quilting.


I started in the cross and drew rays towards the outside of the quilt. I then alternated different fills between the rays. The cross itself was quilted like wood grain.

I used four different shades of blue thread and worked lightest to darkest from the center outward. (This is more evident on the back of the quilt.)


The color gradation spilled onto the white border where I outlined the lettering and then pebbled around that. Just F.Y.I. Pebbling. Takes. Forever. It is also much prettier (in my opinion) if the thread color matches the fabric. Mine did not.


This photo was taken after returning from the show. Originally, the lettering did not show up near enough in the quilting so I painted it a pale yellow. That is how it went to MQS. Several months after that I went back and made the yellow darker and added the navy shadow effect. It is still a little subtle and the font I chose made the quote difficult to read. I'll know better next time.


To finish the quilt I added a gold flange at the edges to complement the gold in the lettering and gold rays (very subtle) in the quilting. It seems to get lost in the busy fabrics, but I made the binding gradated as well. It is lightest at the top left and changes to dark in the lower right. That was one of my favorite features but is hardly noticeable unless it is pointed out. Again, I'll know better next time.

I'm glad I completed this quilt and that it hung in a major show. It definitely forced me out of my comfort zone. I knew going in it was nowhere near the amazing quilts that hung around it. The whole process taught me a great deal. And isn't learning and growing what it is all about?

Sorry this got so long. In the next post I'll share quilt number two that went to MQS!

Friday, August 24, 2012

Lisa Sipes trunk show


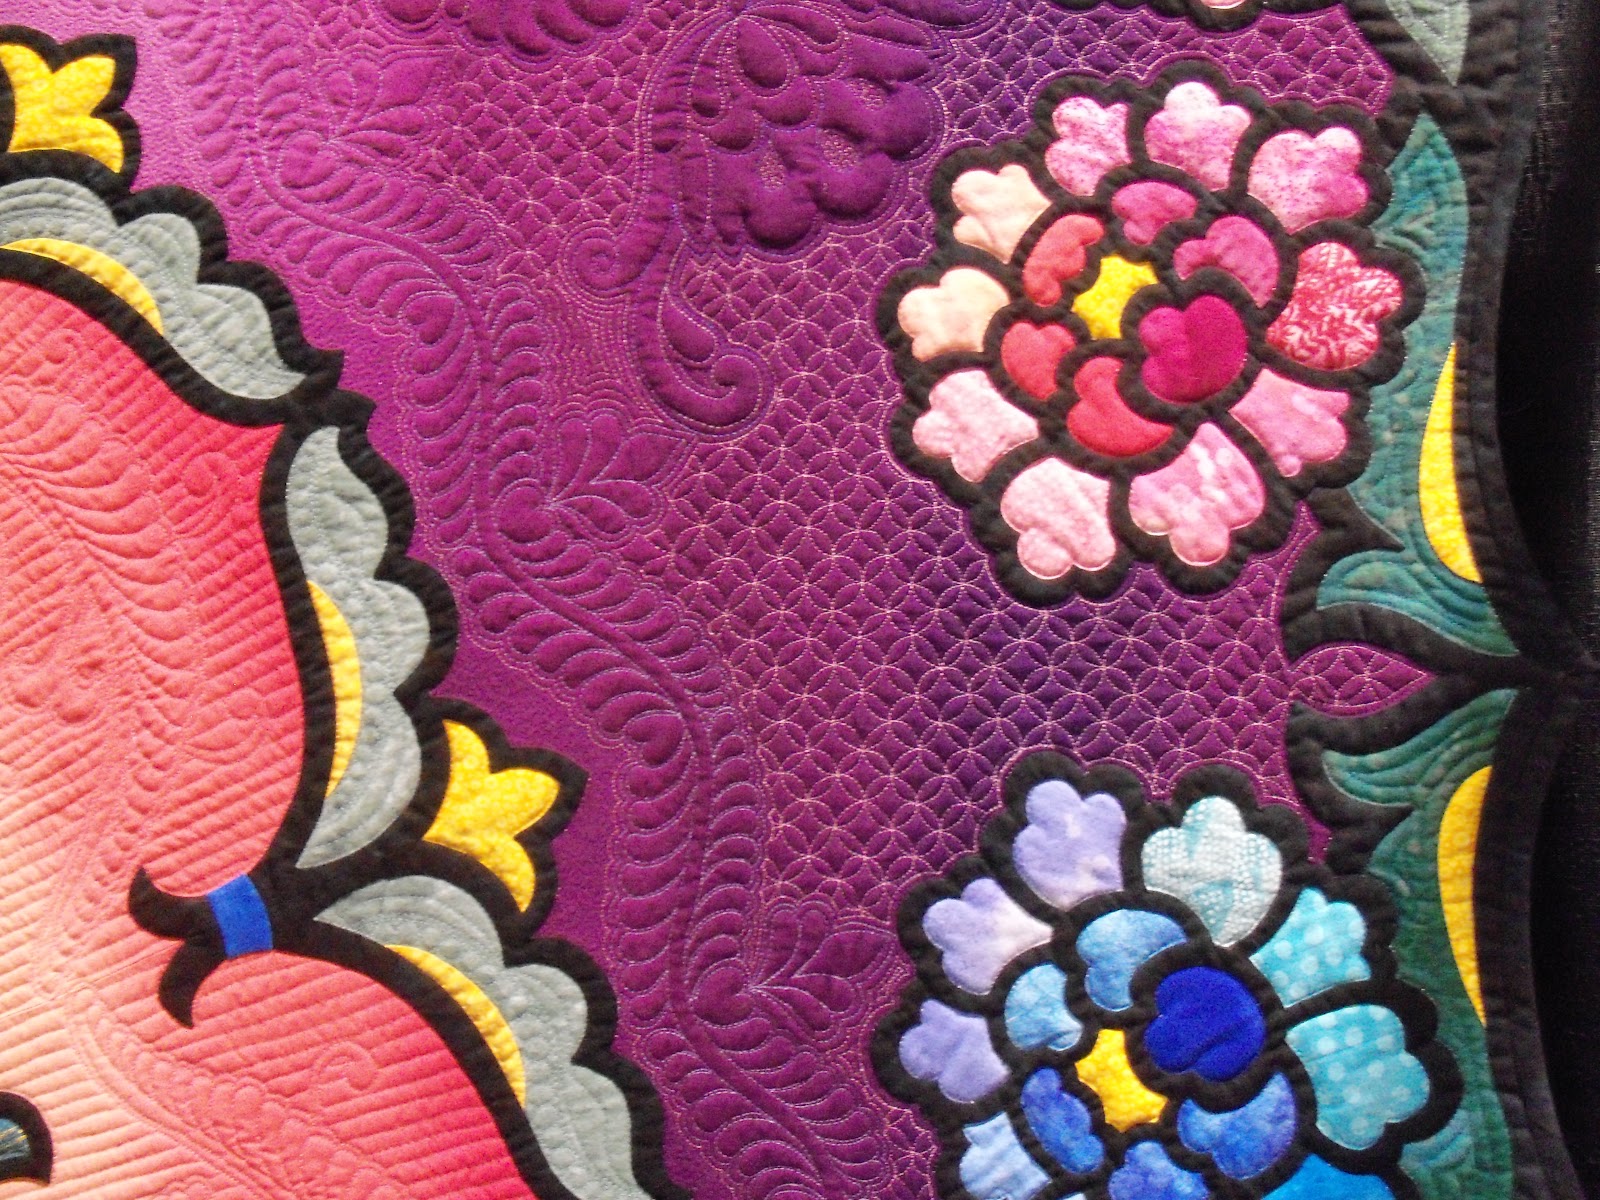
Last week, the Missour Kansas Machine Quilters Guild (MKMQG) hosted quilter Lisa Sipes who had a trunk show and shared much quilty goodness. The fuchsia hair, piercing and tattaoos may have been an eye opener for some of our more seasoned quilters, but she was very entertaining and brought some stunning quilting to share. The quilt below won a blue ribbon at MQS 2011 in the embroidery category and features some incredible micro-quilting. This was also the first quilt Lisa entered in a show (and had been quilting for only two years at that point!) WOW! The purple photo below this one is the back side of this quilt. The gold is the quilting.


I love the ruler work on these. Those three little lines are only an eighth inch apart. I would have loved to have seen first hand how the heck she did this.


I had seen many of these quilts online, but they were just incredible in person. Thanks, Lisa, for sharing your amazing work!

Thursday, August 23, 2012

Adding a flange

A few weeks ago when the temperatures in Kansas City reached 109 degrees, there really was nothing more to do than lock yourself inside, crank up the air conditioner, and dig out the Christmas fabric. After all, snowflake fabric somehow gives you hope that the summer inferno will soon come to an end.

A while back I picked up a "Christmas Spirit" jelly roll and the coordinating panels by Moda, and I finally had time to start making the table runners I had planned. I'll share them with you when I have them complete (hopefully before the snow flies). I really fell in love with this fabric line!


When I attended MQS (Machine Quilters Showcase) back in May, I had the opportunity to spend an afternoon helping in the juding room. I got to hear the judges' comments and critiques about every aspect of the quilt entries. One thing they liked over and over was special edge finishes like piping and flanges.

I had never added a flange to a project before, so I thought these table runners would be a nice, easy, and small place to start. It turned out to be quite simple. Here is what I did:

I wanted the exposed flange to be 1/8 inch so I cut a strip of fabric 3/4 inch wide by the length desired. The flange is made from a folded strip, so I doubled 1/8 + 1/4 (the width of exposed flange + seam allowance). Then iron this in half, right side facing out.

Next, pin it to the edge of the fabric or block you want the flange to edge. Baste it on with an 1/8 inch seam allowance (so the seam won't show when you attach the next piece of fabric).


Continue around the block adding the flange pieces to each edge. Now you assemble the block as usual, stitching pieces right side together and using a 1/4 inch seam allowance. The flange is now caught in the seam.


This was a quick way to add a little extra zing to the finished block. Now I have to get busy and get the rest of the runners done. I'm afraid the holidays will be here before I'm ready!


Monday, May 21, 2012

Fun-filled week at MQS

Last week was one big quilty blur--so much going on. MQS (Machine Quilters Showcase) was held in Kansas City this past week, and I was lucky enough to get to spend a lot of time there. It was exhausting, but oh so much fun. I took some fun classes on digitizing quilt patterns which I hope to put to work very soon. I also was able to volunteer behind the scenes at the show. One of the highlights was working as a scribe on the judging floor (filling out the judges score cards.) It was really interesting to listen to the judges comment on each quilt and see what they liked (and didn't). They were very picky about not seeing starts and stops, backtracking, finished edges, and consistent quilting density throughout the quilt. I gained a great deal of insight from this experience. And the quilts were spectacular. It was really fun to know once the ribbons were awarded, why one quilt was chosen over another.

I also spent several days on the vendor floor where I got to test drive longarm machines. I made the rounds several times and spent time on all the machines. I had really been looking forward to this. It was great to finally get some hands-on experience with each of them, which helped me narrow down my choices. I can now make a more informed decision when the time comes.

And then the actual quilts... WOW! They were really amazing. I took pictures, but they didn't do justice to most of these quilts or quilters. Sorry I didn't get the quilters' names.


The quilters from Texas were also in town to take in the show. When they weren't at MQS, they had a full-blown quilt retreat set up in my dining room. They hit as many quilt stores as they could find and diligently worked on the pile of projects brought by each of them. We had a great time and are already looking forward to next time!