Wednesday, July 3, 2013

Happy Birthday America!

How fitting that I finished quilting this wallhanging yesterday just in time for the Fourth of July. This patriotic number will become a raffle quilt by the Northland Needlers at their upcoming quilt show. You can find out more about their show here.


I quilted a twirling feather in the friendship stars and used a variety of continuous curves in the four patches and triangles. The blue sashings got a chubby rick rack. The batting was Hobbs 80/20 and thread was Glide in maroon and navy.

I hope everyone has a fun and relaxing Independence Day! I plan on taking the "relaxing" part real serious. Dave is going to be on barbeque duty while the boys will be busy blowing things up. Maybe I will get in a little sewing machine time!


Saturday, April 27, 2013

The yellowest dandelions on the block

Spring is really trying to burst forth around here despite freezing temperatures, frost in the mornings, sleet, and the occasional random snow flake. I'm cheering it on and hoping we have finally made that last cold-weather hurdle. The sand cherry popped this week and everything is starting to green up. The dandelions, as always, are equally excited about spring.


This week first grade has been studying plants. They've talked about the life cycle of plants and how they take up nutrients. They put a plant in colored water and watched how the color moved up through the plant. Changing a plant's color is, after all, mighty impressive to a seven-year-old. After my resident first grader explained to me everything one should know about plants, he told me he knew why the dandelions in our yard were so yellow... "because I pee on them!"

***mom shakes head***

Thank you, Nick! So if anyone needs to brighten up your dandelions, I'm sure Nick would be willing to service your yard as well.


Happy Spring!

Tuesday, March 19, 2013

Raw edge cabbage roses

Have you tried raw-edge applique? I haven't yet, but loved the look when I got this top to quilt. Even better, it a quick and easy technique. The applique pieces are sewn directly to the background -- no fusing, no turning under, no hand work! Allison at Cluck Cluck Sew has a great tutorial here.

I may have to give this a try!


The customer wanted a loose meander around the flowers and minimal stitching within them. The flowers were made of four layers, so I did a free-form line through the first and third layers. This pushed the fabric down just enough to make the raw edges pop up a bit. After washing, they will become even more pronounced as the edges fray. The batting was Hobbs 80/20 and thread was So Fine off ivory top and bottom.


I loved Kitty's use of all the different floral fabrics. This gave it a very feminine, vintage, cottage look. What fun!

Sunday, March 17, 2013

Colorful Double Irish Chain

Happy St. Patrick's Day!

The luck o' the Irish brought me this cheerful Double Irish Chain quilt. The customer requested shamrocks in the open spaces and feathers in the chains using green thread. In the outside borders I put a wavy line and an alternating heart. The batting was Hobbs 80/20 and the thread was So Fine top and bottom.


Saturday, March 16, 2013

WIP-it, PIG-it, or UFO?

Happy World Wide Quilting Day!

In honor of such a special occasion, I think my sewing machine and I are going to get reacquainted. I know she's under the pile here somewhere.

Now I just need to decide if I'll drag out a WIP (work in progress), PIG (project in grocery bag), or UFO (un finished object). There are many to choose from...

Who would I have to call to arrange for World Wide Quilting MONTH? Please let me know if you have their number.

Happy Quilting, everyone!

Friday, March 15, 2013

Hockey jersey quilt

I recently finished a commission quilt for a customer using a collection of her son's hockey jerseys. She requested irregular piecing and that the "battle scars" on the jerseys be included.


She couldn't remember if he was kicked with a skate blade here or hit with a stick. Ouch, rough sport!


This quilt got an all-over meander in a medium grey. The batting was Hobbs 80/20 and the thread was So Fine top and bottom.


Great memories preserved!

Wednesday, March 13, 2013

Heirloom wedding dress quilt

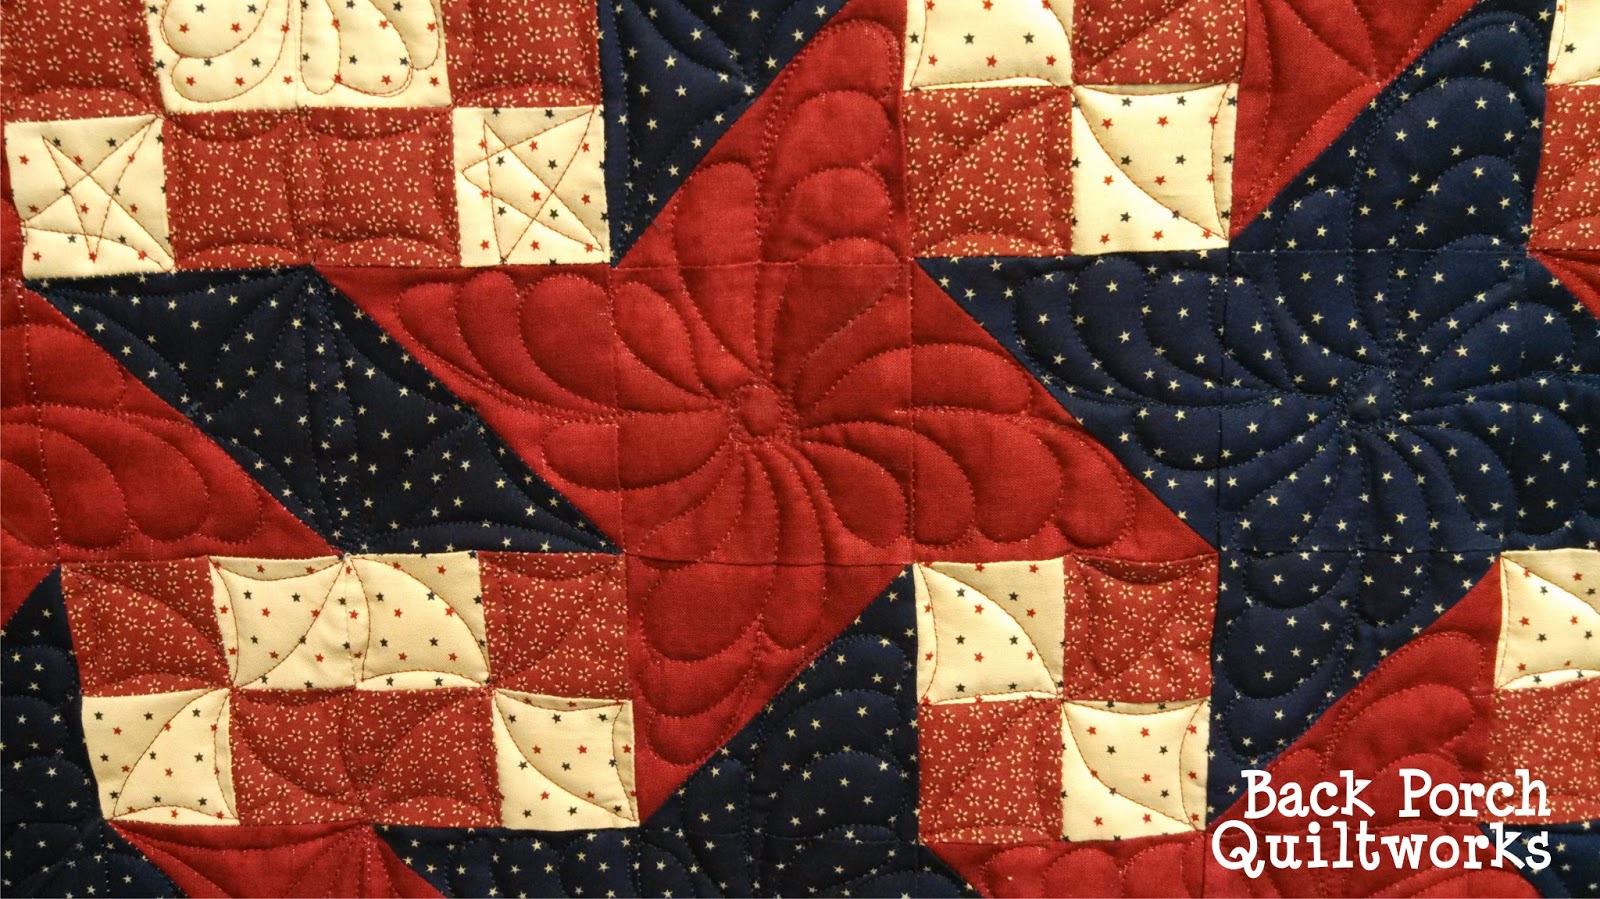
This project, quite frankly, scared me to death. A customer brought in her wedding dress and wanted it made into a quilt. Her only request was that it be preserved in the largest pieces possible.  ***Insert panic attack here***

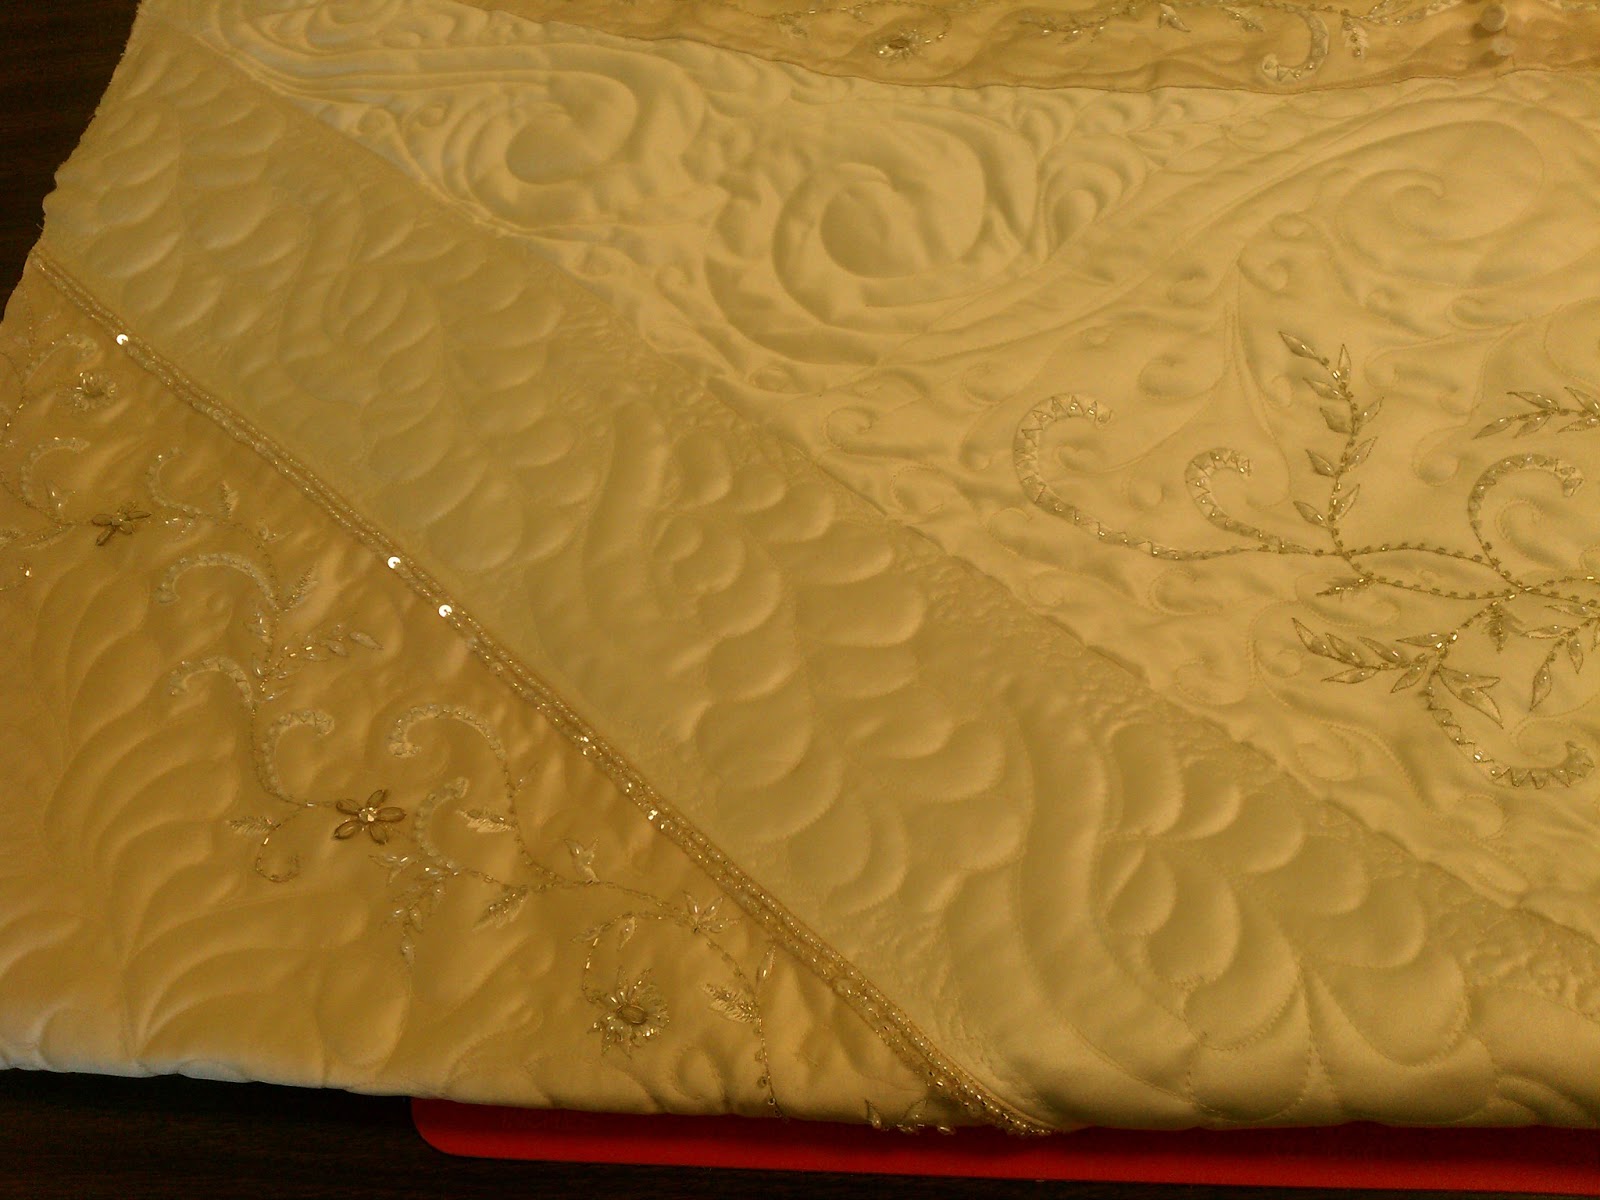
It is kind of scary to cut up someone's wedding dress! I looked at it for weeks before devising a plan. Once you make that first cut, there is no going back! It was a two-tone satin dress, ivory and champagne, and had beading, embroidery and lots of buttons. There were three main sections I wanted to use, the lace-up corset back, the beaded and embroidered motif on the front of the skirt, and the bottom of the train. To keep the biggest pieces of the dress intact, I decided on an asymmetrical layout because I really didn't want to divide up any of those sections.


Here is what the dress looked like before I went into attack mode.


First, I cut apart the main panels of the dress. I ended up not using the bodice as it was quite plain, very narrow, had boobs, and had very thick beading. Not a workable combination for me!


The bottom of the dress was quite dirty so I had take out the hem, cut enough off to lose the dirty areas, and put back in another hem.


Then I began the process of fitting the pieces back together. It really was a big make-it-up-as-you-go puzzle. The only place I had big enough to lay it out and work with it was on my king-size bed. When my husband arrived home and asked, "what are you doing in there" and I replied, "cutting up a wedding dress!", he thought I had completely lost my marbles. Lucky for me, he is very handy and offered up his assistance when I was trying to wrangle and pin these large, very slick pieces back together.


And you know, once you get into a project like this, you realize you just don't have the right tools for the job. But instead of going to the local quilt store, I found myself at Home Depot. My friend Ida of Cowtown Quilts had posted a while back about using a laser square to block quilts (square them). You can see her in action here. I knew that was exactly what I needed. The guy in the tool department, however, concurred that I must have lost my marbles when I told him I was going to use it to cut up a wedding dress and make it into a quilt!

FYI: if you go looking for a laser square, they are used by floor layers to get straight lines when laying tile. I have found that not all Home Depot guys are up on the use of their tools in the quilt world.

The laser square worked like a charm. I spread out my pieces and was able to get perfect 90 degree corners. I ran one red beam down the straight edge of the fabric and it shot a line across where I needed to mark and cut. My six-year-old wanted to know if it was the kind of laser that would blow up stuff. He quickly lost interest when he learned there would be no exploding wedding dresses or older brothers!


I also cut apart the plain panels of the skirt and used them to frame the beaded motif from the front of the skirt.


Once I got all the pieces put back together, I placed a sheet of plexiglass over the top and marked on it to get an idea of what I would quilt. To me, feathers always look feminine and formal, and this begged for heirloom quilting, so that is what I went with. I did free-form feathers throughout, a feathered cable framing the back panel, and swirls and peacock feathers around the front panel motif.


I had never quilted on anything other than cotton fabric, so the satin was a little intimidating. I used Hobbs 80/20 batting and So Fine ivory thread top and bottom. The back of the quilt was an ivory sateen. I found, however, that is quilted up beautifully. The sheen of the satin really let the quilting shine. The trickiest part was dealing with the beading and buttons on the take up bars.


The customer was more than thrilled with the final product. She said she never imagined it would be so beautiful! She plans to drape it over the bed in a guest room for now, then someday pass it down to her child.


I really think I'm going to dig to deepest, darkest depths of my own closet in search of my own wedding dress...

Monday, March 11, 2013

Sweet 1930's inspired baby quilt

This cute little quilt was made from 30's inspired reproduction fabrics. Isn't it cheerful?!


I quilted continuous curves in the nine-patch squares, swirls in the border, and meandering around the puppies and kitties. The batting was Hobbs 80/20 bleached. Thread was SoFine white top and bottom.

Thursday, February 14, 2013

Monday, February 11, 2013

Christmas stars table runner

This fun table runner was the direct result of me browsing Pinterest (a great resource for all things creative.) I saw something similar and loved the pattern and the cheerful colors, but there was only a link to a photo, no pattern or resources. So what is a girl to do? Just wing it and make your own, of course!


I didn't do any math or even make a formal plan. I just started cutting up fabric and sewing it together, and this was the result. I love how it came together.

I used Glide super white on the top and So Fine white in the bobbin. Batting was Hobbs bleached 80/20. I put a snowflake in each of the white squares, continuous curves with a swirl in the star points, pumpkin seeds in the center squares, and continuous curves throughout the squares in the border.


If you have already found Pinterest, you know what a fun resource it can be. If not, BEWARE, it is very addicting. It is a virtual pin board where you can archive absolutely anything you may come across while surfing the web. There is a red Pinterest button in the right column where you can check out all of my boards and set up your own account if you choose. I have many boards, most of which are quilting related. I use it regularly to find inspiration and ideas, as well a tuck away projects and recipes I hope to get to someday. Hope to see you there!